Friday, September 30, 2011

Recycled Bicycle Art

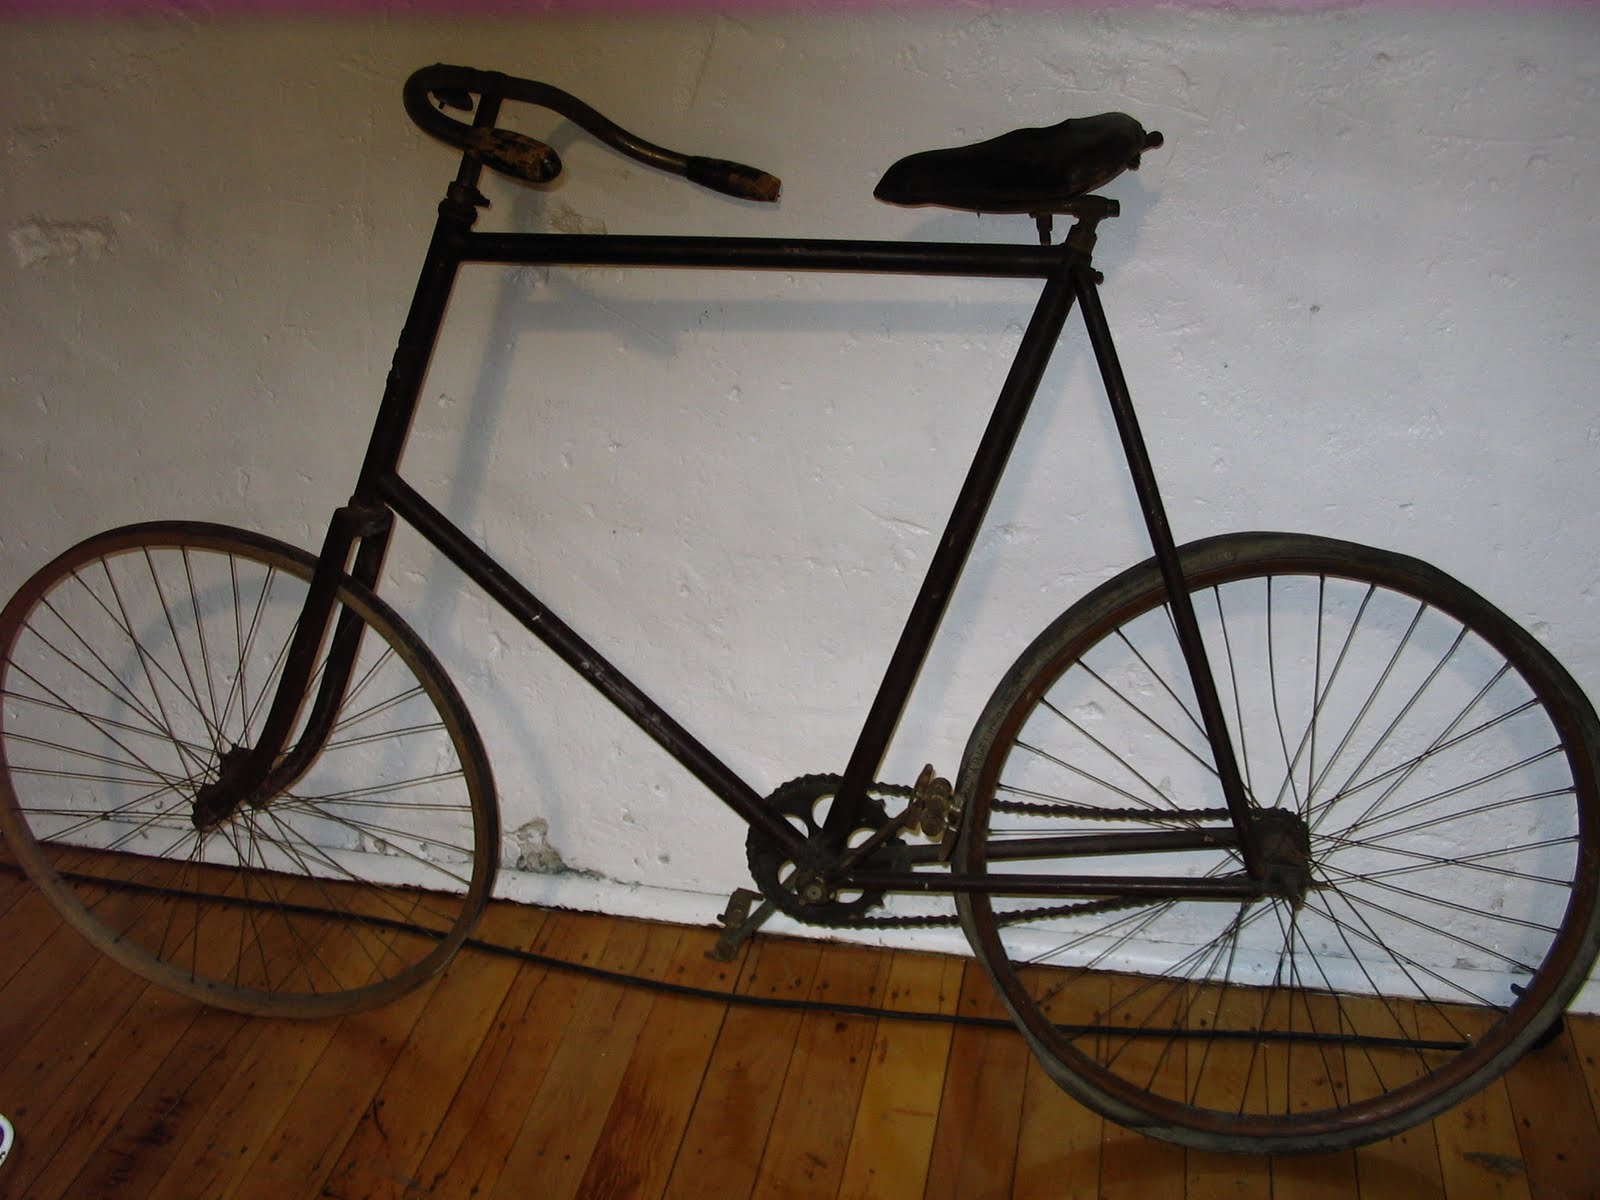
Chopper bike by Neomatic

Made from baseball bats, circular saw blades, wheelchair wheels, parts from: railings, meat grinder, vacuum cleaners, industrial cooking pot, child's bicycle. The artist actually uses this bike to get lunch a few blocks away. To read more about this project go to Indestructible.com
To see more work by this artist go to http://www.nemomatic.com

Tuesday, September 27, 2011

Old Lyme, Lyme, East Lyme and back


This ride starts at the Old Lyme shopping center parking lot and follows Rte 156 into Lyme. When ever you travel north from the shoreline the climb begins. At about 1.25 miles a gradual incline starts and continues until you reach the junction of 156 and Bill Hill Rd.

A look back at the first climb from the junction of Bill Hill and 156


As you can see from the picture above once you leave the Old Lyme shopping center and travel North on Rte 156 the landscape becomes very rural and wooded. Shortly after passing the entrance to Nehantic Forest you will see Tiffany Farm on the right. Nehantic Forest has a pristine pond which is an excellent place for a dip but you have to travel fairly far into the forest on rough park roads.

Tiffany Farms

The road descends past the farm into Hamburg cove.

After passing Tiffany Farm there is a steep descent. In Hamburg cove there is a very old convenience store where you can grab a drink or snack.

Ye Old Shed


Beaver Brook Rd starts with a short steep climb then levels off for a little bit before climbing to a max of about 244 ft. Basically Beaver Brook goes up and down all the way. The cue sheet provided by Map My Ride has a tendency to provide too much infornation. Once you turn onto Beaver Brook Rd stay straight it changes names ultimately becominng Upper Pattagansett road, the cue sheet could make you over think this, just follow the road.

There are quite a few old cemeteries along the way, as well as barns in various conditions.


Once you travel into East Lyme the road surface on Beaver Brook or Upper Pattagnsett improves and the scenery becomes less rural. At the end of Upper Pattagansett take a right onto Rte 1 (Boston Post Rd). Route 1 travels all the way back to Halls Rd. If you would like to increase the mileage of this ride you could take a left onto Four Mile River Rd. just a little before mile 19. Following Four Mile River Rd. to Rte 156 back to Old Lyme shopping center on Halls Rd. will add about 9.5 miles. Alternatively one could stay on the Boston Post Rd. all the way through Old Lyme to Halls Rd but stay straight onto Lyme St. traveling through the historic district or perhaps grabbing an ice cream at the Old Lyme Ice Cream Shoppe. If you follow Lyme St past the Congregational church past the country club you will reach Rte 156. Turn right and follow 156 back to Halls Rd. The second route alternative will add approximately 3.5 miles.

Congregational Church


Saturday, September 24, 2011

Gear Inches

If you go to my useful links you will see a link to Sheldon Brown's Gear Calculator.  For those of you who aren't bike geeks you might be wondering what that is all about.  The simplest explanation I can give is; it is a device used to help one figure out what type of gearing to use on a bicycle. Why would you want to know this? You may not if you are entirely happy with how your bike performs and you aren't planning on getting a new bike. But if you're having trouble getting up the hills or you want to be able to pedal down hills you may want to calculate the gear ratio on your bike. If you are buying a new bike or building up a new bike you may find the gear calculator useful.


To use the bike calculator you just input tire size, crankarm length, Chainring size (chainrings are the sprockets next to your pedals) and the cassette size ( the cassette is the cluster of sprockets attached to your rear wheel) Sprocket sizes are usually written on them or you can count the number of teeth. Once you input all the data the calculator will give you a chart with the gear inches for each chainring/sprocket combination. 


But what do gear inches tell you?  A 50 x 12 combo equals 105.1 gear inches and a 30 x 26 combo equals 30.3 gear inches, right off the bat you can see that a higher # occurs in the higher gears and the lower # occurs in the lower gears. Gear Inches represent the amount of chain that is moved with one complete pedal revolution while in each gear combination. So the higher gears move more chain and the lower gears move less chain. That makes sense since you go slower in the lower gears and faster in the higher gears.  It logically follows that moving more chain requires more effort than moving less chain.


If you want to pedal up those big hills more easily you may want to change your cassette to one that has some larger sprockets, anything from 28-36 tooth sprockets. You could also change the chainrings probably by changing your entire crankset, to include chainrings that have something less than 30 teeth. 

That should give you an idea what gear calculators are all about. It is possible to calculate this without the calculator but the calculator is much faster. There are a lot of gear calculators on the internet but I like Sheldon's calculator because it allows you to choose common cassette clusters or manually plug in the sprocket sizes.  Sheldon also lets you measure your gear combos in other increments such as MPH/KMH per RPMs or gear ratios,which is Sheldon's thing so I'll let you read about that on his website. 


Please note this post is not meant to be an exclusive guide to changing a bikes gearing. In addition to changing cassettes and cranksets you may also have to change the rear derailleur and lengthen the chain.

Friday, September 23, 2011

The Bottom Line

When you stop and think about the design of a bicycle saddle its not hard to understand why they can be so darn uncomfortable. Saddles have to be fairly narrow so that they can be straddled between the legs without inhibiting the constant back and forth, up and down movement of the legs. At the same time they have to be wide enough to support our seat bones. Then consider all the variables of the human anatomy and you can see why saddle comfort is such a matter of individual preference. 

The strategies used to obtain a comfortable saddle vary from a plastic base covered with some sort of padding material to no base at all just leather stretched over a metal frame. 
WTB Speed She Comp

WTB Laser


Brooks Swallow 


To relieve perineal pressure saddle manufactures have added various types of cut outs.
Titanico Selle Anitomica


Selle SMP Strike


This concept is nothing new Brooks spoke about "the registered cut-out as a sure preventative for all perineal pressure" in there 1890 catalogue. Below are some photos of a safety bike with a wicker perineal cut-out.

Safety bike
close up of seat


Perineal pressure can be a huge problem for men and women, so back to the drawing board to come up with new shapes.


Moon Seat


Easy Seat


ISM Touring Saddle
ISM Adamo Saddle

A riders position has a lot to do with the type of saddle that will work best.  If you ride in a more aggressive leaned forward position the Adamo saddle above may be just the ticket. This saddle is becoming popular with triathletes and time trialist. 

 View Adiamo Saddle Video


For those that prefer a more upright position saddles that are wider with more padding and/or springs are usually more comfortable. Although padding can sometimes cause more perineal pressure. Leather saddles like Brooks rely on the hammock effect, nothing hard under the seat bones just a piece of leather that slowly conforms to your shape.
Brooks flyer


 Leather saddles require a break-in period which varies among brands and the saddle must be treated periodically with a leather conditioner which helps soften the leather and keep it from cracking. 


If none of these options help with your saddle issues I guess you can always go bent :)


Wednesday, September 21, 2011

RANS Zenetik

5 or 6 years ago I was experiencing so many numbness issue with my hands, feet and seat I began to wonder if a recumbent might be my next bike, then I stumbled onto the RANS. Located in Hays, Kansas RANS produces small aircraft, recumbents, and crank forward bicycles. Other companies like Electra tout a crank forward design but RANS takes the design as far as it can without becoming a recumbent. 


                                                                 RANS Zenetik
As you can see in the picture above, the frame is longer and lower than a traditional bike, pushing the seat back and the pedals and cranks forward. This alleviates pressure on the hands and seat that is common with traditional diamond frame bikes. Instead of straddling the seat you just sit on it. The seat's shape sort of reminds me of a tractor's seat although there is a slight nose bump in the front to help the rider stabilize the bike.  Since the seat is pushed back the rider's position is quite upright. 

The lower longer frame also allows the rider to put their feet flat on the ground while remaining seated.

The frame has a special tube to mount the front derailleur to because the seat tube is at such a steep angle

The front fork is farely straight making the bike much easier to maneuver around tight corners than its more chopper like siblings the Fusion and Cruz. The longer wheelbase provides a smooth ride over bumps.


At the time I purchased the Zenetik there wasn't anyone in the state of Connecticut who sold recumbent bikes let alone Rans crank forward bikes. The closest dealer was 1 hour and 45 minutes away in Turner Falls, Massachusetts. 


The Zenetik solved my hand and seat problems, but I still had numbness in my feet so I switched to clipless pedals which helped me ride longer before the numbness occurred. Eventually I switched back to a more traditional diamond frame because I wanted to generate more power on the hills and be more aerodynamic. I'm still tweaking my Cannondale's setup, padded gloves and drop bars help keep hand numbness at bay and a seat with a cut out eliminated the numbness in the perinium, as for my seat bones... there's just no denying the comfort of the RANS crank forward. 

Monday, September 19, 2011

The Switch

I've been thinking about making some changes to my Peugeot Mixtie for a while. The push finally came from some broken retainer clips in the bottom bracket.  I've had a lot of trouble keeping the Sugino bottom bracket snug, even with lock tight.  I can't really say why since the threading is right handed which is the same direction as the pedal stroke so it should tighten with every stroke. None the less the last time I rode the Mixtie the BB was making some noise and the chaingaurd seemed to be weebling a little. 


                                                  Stronglight cranks with Stein crank puller 


Once again I put the bike up on my make shift bike stand, saying to myself that this would be the last time I was going to fool around with this bottom bracket.  I've sure gotten a lot of use out the special Stein Crank puller I purchased from Harris Cyclery. A standard crank puller and I use the term standard loosely, has a 22mm thread but the older Stronglight cranks use a special crank puller that has a 23.35mm thread. 


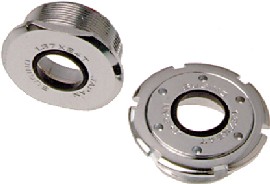
Once I removed the cranks and loosen the bb I decided to take the bb cup off and get a better look at things. This revealed a broken retainer clip. For those of you who have never seen the inside of a cup and cone bb like this....


cups


There is a ring of ball bearings that are held in a metal ring (retainer clip) in both ends of the bb. Perhaps this was part of my problem with keeping the bb snug. Both clips were in pieces. I could just purchase more ball bearings and use them without the clip but I'm afraid that it might be a pain to get all the loose balls in place. Besides I want to just reinstall the bb and not have to think about it for a long time, its time to up grade to a cartridge style bb. I purchased a Velo Orange bottom bracket with french threads.


                                               My busted retainer clip and a new Velo Orange bottom bracket 
              
I've also been thinking about switching from the 11-32 cassette I currently have on the Mixtie to a 12-36 cassette. I know the 4 sprockets I'm gaining on the 36 tooth sprocket doesn't seem like much of a difference but it will be 4 less gear inches I have to push up steep hills. Lets just say it will put me closer to my lowest gear on the triple crankset of my Cannondale. Since the bike is on the stand I might as well go ahead and make the switch.


                           11-32 cassette, 12-36 cassette and Stronglight 42/52 cranks with chaingaurd


There's just one problem I forgot to get the bb tool I'll need. Darn bottom brackets and all there various different tools. I ordered one from my local bike shop and it should be in today. Its a beautiful day for a ride, so I'm off to Niantic to pick up the proper tool. I'll keep you posted...


Update:
The best laid plans of mice and men, as they say. The Velo Orange bottom bracket won't work because my spindle is off set and the VO bb isn't this all equals a chain line that causes the inner chainring to rub on the frame.  The loose ball bearings were a pain to install  on the non drive side but its done.  I decided that some of the problem with the bb loosening had to be from the non drive side since that tightens in the opposite direction of the pedal stroke.   I used locktite on the threads of both cups and it seems to be holding.  The 12 - 36 cassette is working out fine. One note though, the cassette that I had installed before was actually a 11 - 30 even thought the packaging was marked as 11 - 32!  I have also discovered that the weeble of the chainring is due to it being slightly bent.  It works ok but makes a little bit of a rubbing noise which makes me crazy. I guess I'll have to replace it or find a way to sraighten it. Any ideas on how to do this?


Friday, September 16, 2011

Tom Danielson Event

Saturday, October 15, 2011
Tom.tdf.jpg
Tom Danielson charity ride to benefit the Connecticut American Heart Association
Ride 25 or 50 miles with the 9th place finisher of the 2011 Tour de France.
Ride starts at East Lyme High School.
Check in at 8:00 AM. The ride leaves at 9:30 AM
2:00 PM meet, greet and get an autograph
Registration Fee $25
To register go to Wayfayerbike.com